
19 Feb BDHOMELOVE: One Designer’s DIY Therapy
By Jennifer Carter
Every now and then, when we’re not re-designing rooms for our clients, we designers find ourselves with a bit free time to work our magic on our own home. At the end of last year, I was ready to take the plunge and attempt to redesign and renovate our powder bathroom all by myself. While a little daunting, I was up for the challenge and in need of another round of DIY therapy!
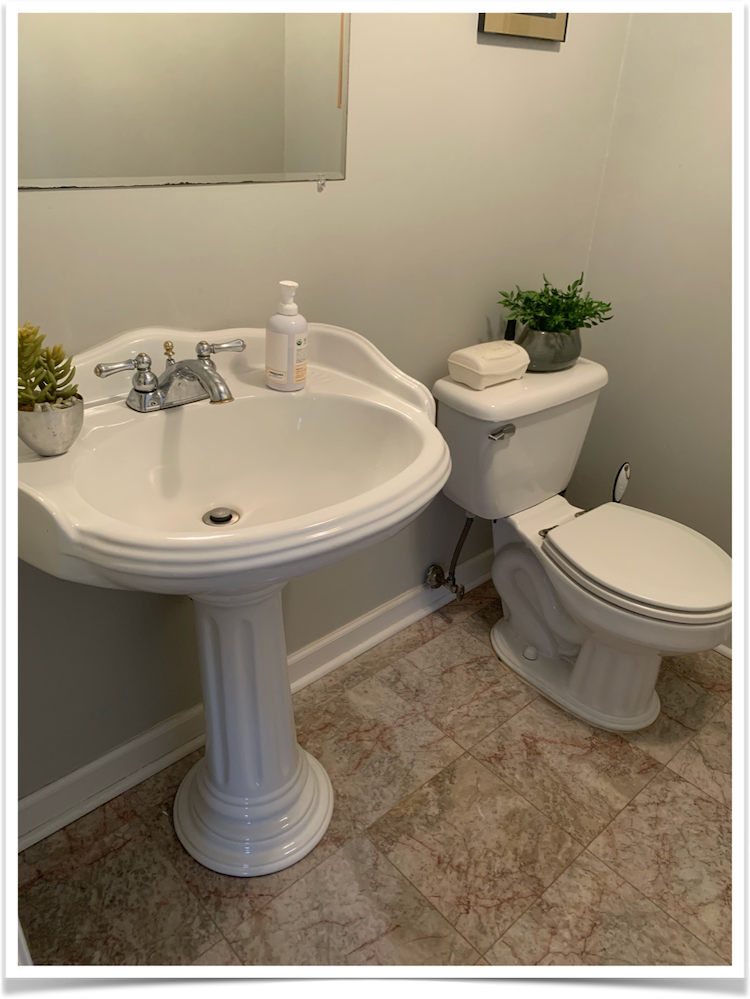
First, came the removal of the old toilet and sink. No judgments, but we’ve lived with this bathroom since we bought our house 4 years ago. I wasn’t too sad to finally see the Greek inspired column plumbing go!
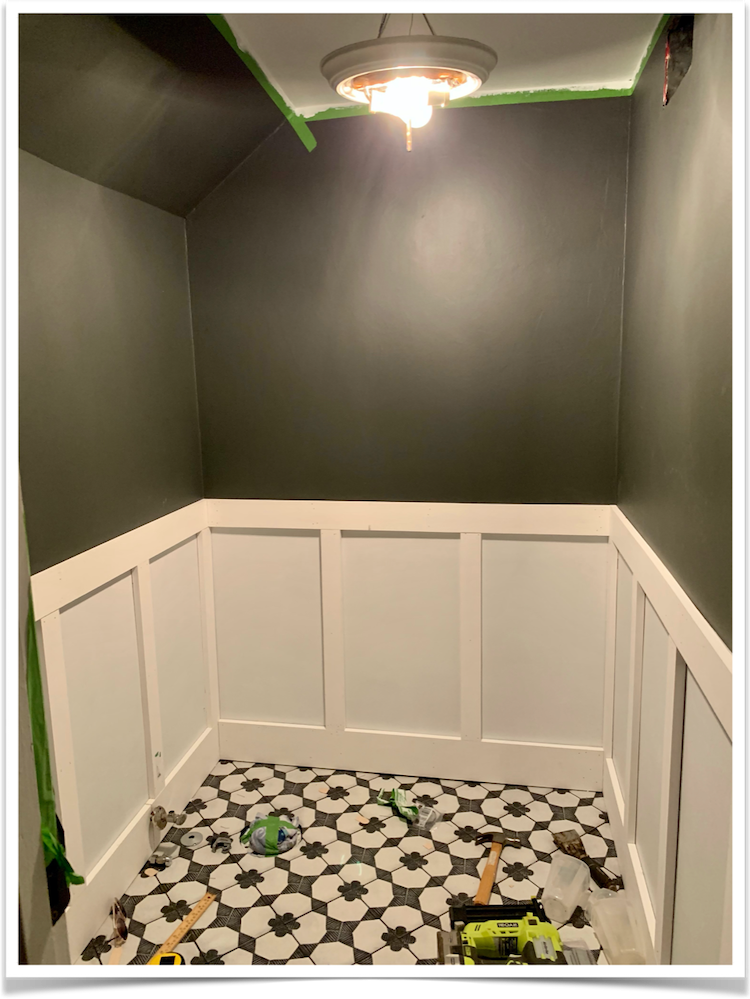
Next, was dry-laying the tile on the floor first before adhering it permanently. I knew I wanted the tile to lay in diagonal pattern, however, being that this was the first time I’d ever tiled anything, I wanted to triple check that all of my tiles were straight and that all of the cuts were exact. Not only did dry-laying the tile end up giving me peace of mind, while a bit more time consuming in the beginning, it made the process of actually adhering the tile a breeze. I think cutting and laying tile might be my new found passion. I absolutely loved it! It was like putting together a puzzle – so satisfying!
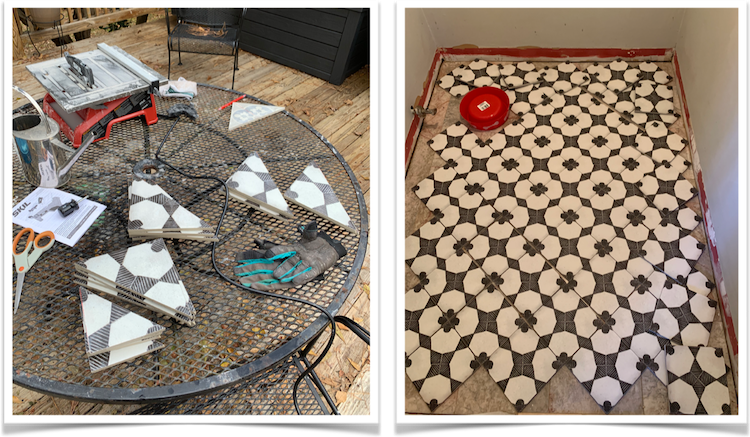
Being that this was a small bathroom, and not one where we had a shower or tub, I opted to tile over the existing tile rather than remove it and risk damaging the concrete floor below. (Yes, you can actually do this! And I have to admit, this was by far the biggest time and mess saver of the entire project). By using a roll-on texturizing liquid specifically made for this purpose and to allow the new tile to adhere properly, the process couldn’t have been easier.
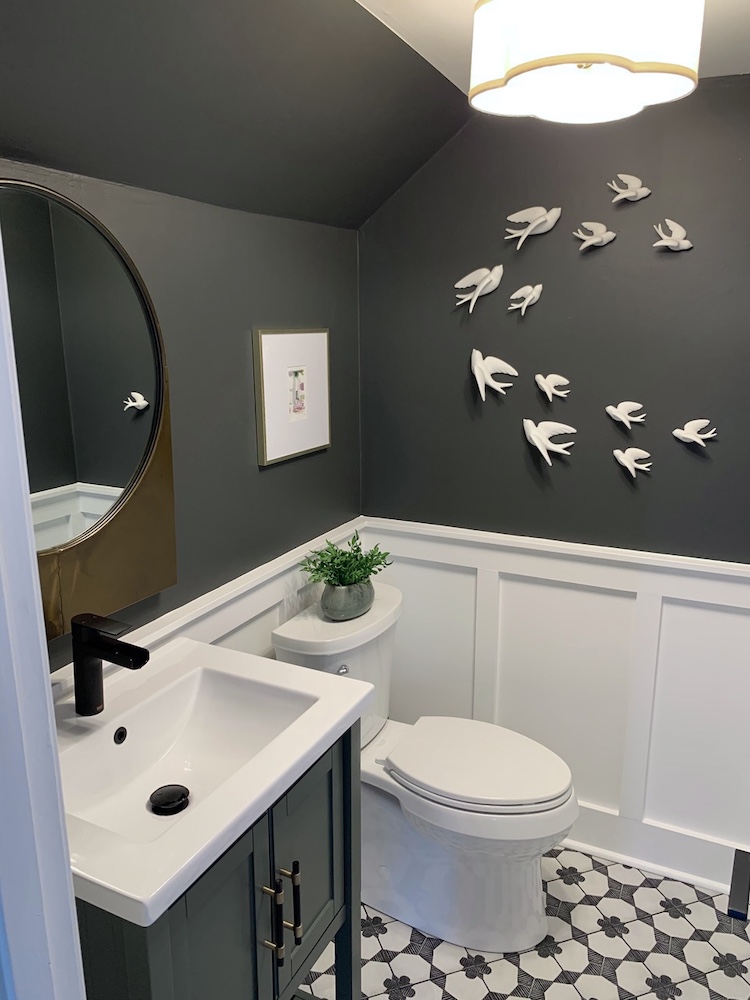
After tiling, the walls were next. I knew I wanted to go dark in this room with the wall color, but I didn’t want the room to feel closed in. By opting for a crisp white trim detail at the base of the walls, this space would still feel light and bright. I painted two coats of Behr Carbon Copy on the top half of the wall, then prepped the bottom half of the walls with one coat of primer & one coat of Benjamin Moore Chantilly Lace to make painting the final coat on the new trim go much faster. When adding trim, it’s a good idea to play with the layout and draw everything out first, that way you can make sure your measurements are accurate and that the layout looks evenly spaced before you start cutting your wood. For this project, while a little more expensive, I did opt for pre-primed boards. A total time saver when it comes to trim projects. Once the boards were all cut to size and nailed in place, the holes were filled and everything was given a final sanding before the last coat of paint.
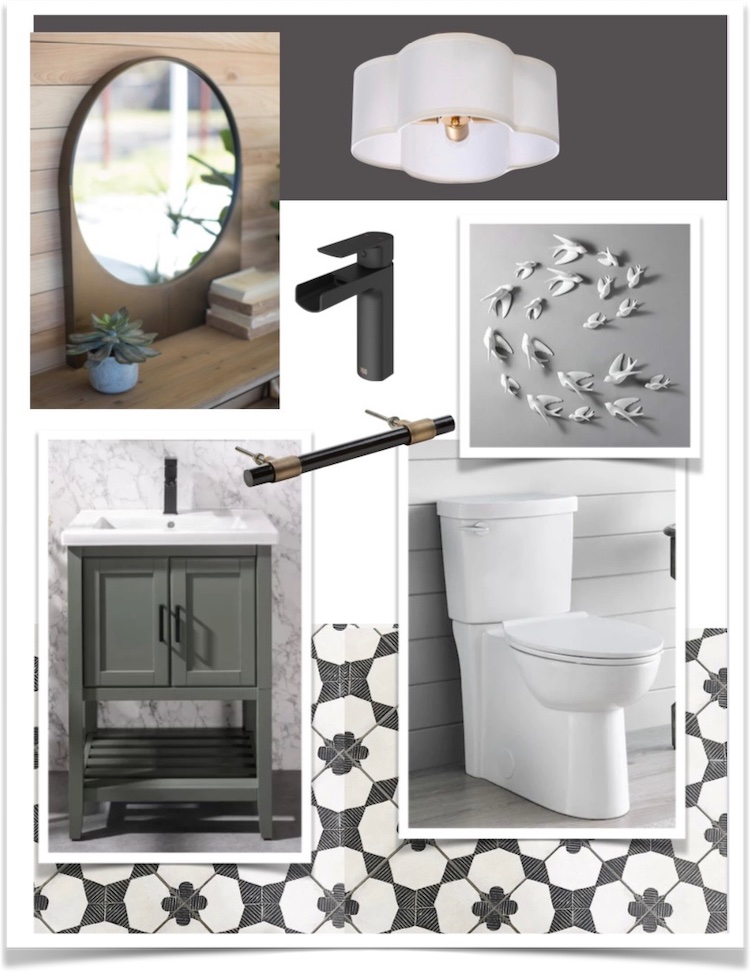
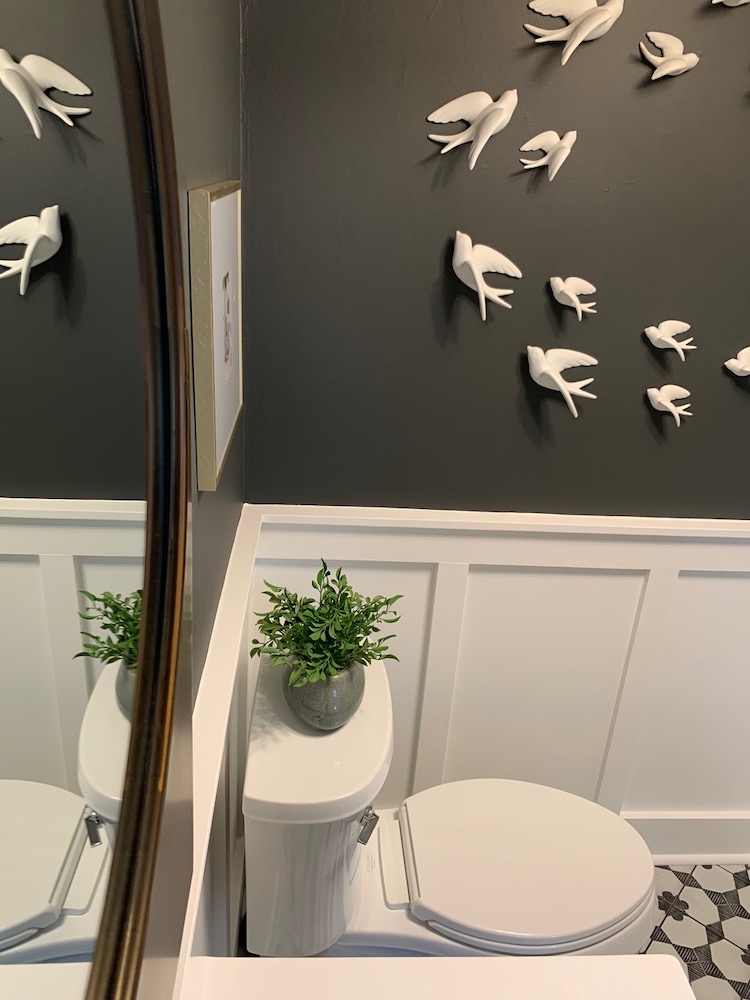
I was now ready to install all of the plumbing – another round of firsts for me! With a little help from the hubby, and a few You-Tube videos, we cut off all of the old rusted valves and replaced them all with shiny new ones. The new toilet and vanity were set into place and the waterfall faucet was installed. To finish out the room, I hung a new light fixture along with a brushed brass mirror, a small watercolor painting from one of our favorite local Atlanta artists, Crysta Luke, and then the icing on the cake – a lovely collection of white porcelain birds to pop against the dark walls.
I have to say, I’m in love with this room! With a bit of careful planning and budgeting on the front end, doing projects yourself around your home can be so fulfilling (and quite fun too)! I highly recommend it!
No Comments